
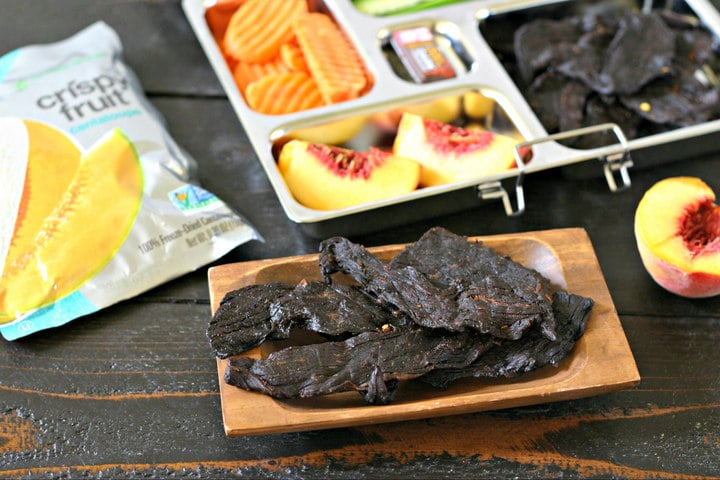
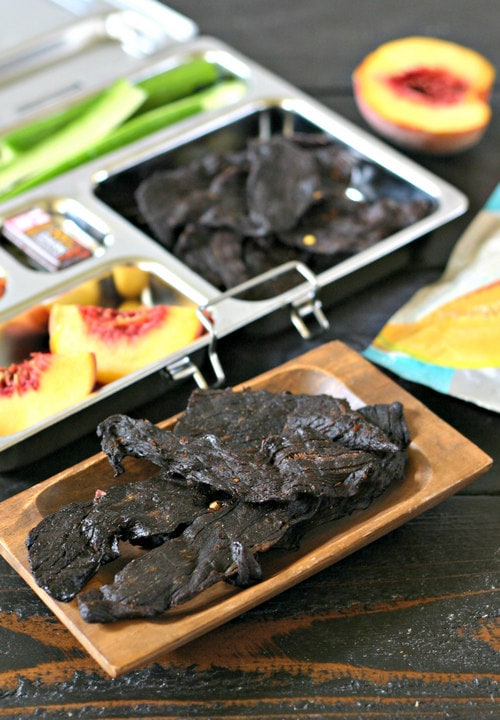
How To Make Beef Jerky in a Dehydrator. A healthier, gluten free and more economical way to stock up on Beef Jerky for lunchboxes and snacks!
One more week till school starts and I am super excited about getting back into packing #MavenLunches again for my older son. When he started Kindergarten last year, I got a lot of messages from readers about what I was packing him so I decided to start the #MavenLunch series on Instagram and you know what? Best Decision Ever.
I realized that posting pictures of his lunch every day kept me accountable to making sure his lunches were colorful and filled with a large variety of healthy gluten-free foods instead of getting stuck on the same old stuff over and over. Plus, I know that so many of you were able to find inspiration and ideas for your own kids so it turned out to be a win-win!

As we gear up for school next week, I have been getting our school lunch snack bin stocked and ready. One thing my son requested more of was Jerky. If you like jerky then you know it is so expensive. Especially the grass-fed, gluten-free variety.
When the WA State Beef Commission along with Fred Meyer asked me to partner on a Beef based back to school recipe, I immediately thought of finally tackling the challenge to make homemade jerky!
This is actually one of the coolest things about my job. Getting inspired and challenged to try new things in the kitchen. SERIOUSLY AWESOME.
I went to my local Fred Meyer and talked to the butcher about which cut to use to make homemade Beef Jerky and also bought a spiffy new dehydrator. The butcher suggested any larger cut of lean steaks or even roasts if trimmed really well.
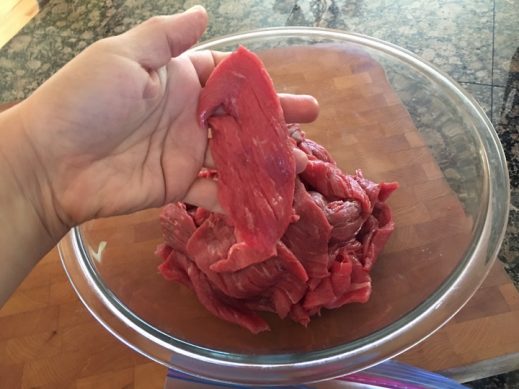
When it comes to making jerky, you want to use a leaner cut (or really well trimmed) of Beef as the fat can turn rancid after dehydrating. I wound up getting some grass-fed filet mignon since it’s already super lean!
If you are ever confused as to which cut of Beef to use for what, bookmark the Interactive Butcher Counter as a helpful resource.
Want to find even more beef recipes? Check out the Families in Motion page. Here is a collection of kid-friendly recipes that could also find their way into a lunchbox!
Now, on to the recipe and time to make some homemade gluten-free Beef Jerky!
Did you make this recipe? Please give it a star rating below!
How To Make Beef Jerky in a Dehydrator. A healthier, gluten free and more economical way to stock up on Beef Jerky for lunchboxes and snacks!
- 2 pounds grass fed Filet Mignon see NOTES for other cuts, trimmed and and sliced 1/4" thick with the grain
- 3/4 cup gluten free Tamari or 1 cup Coconut Aminos
- 3/4 cup gluten free Worcestershire Sauce
- 1/4 cup coconut palm sugar
- 1 teaspoon Mexican chili powder
- 1 teaspoon ground white pepper
- 1/2 teaspoon ground cumin
- 1/2 teaspoon crushed red pepper flakes
-
Combine all ingredients for marinade and combine until well mixed and sugar is dissolved.

-
Thinly slice beef WITH the grain into 1/4" thick slices. Many butchers will do this for you. Just ask them if they will "slice the beef for Jerky 1/4" thick with the grain".
-
Grab a gallon sized freezer bag and place all of the sliced beef into it. Add the marinade.
-
Seal and place in the refrigerator for 24 hours.
-
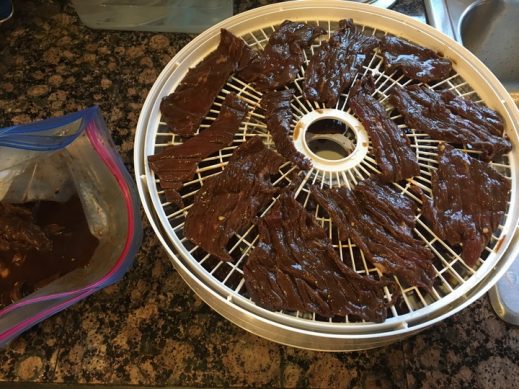
When ready to dehydrate the jerky, remove sliced beef from marinade and place on the drying racks. Be sure to place the beef in a single layer with no overlap.
-
Set the dehydrator to 155F or the highest setting. Every dehydrator is different so it could take anywhere from 3 to 4 hours up to almost 20 hours to fully dehydrate your jerky. This means that you need to check in on it a bunch if it is your first time making jerky or using a new dehydrator. Once you learn the machine, it will be set and go.
-
When it is done, remove the trays and allow the jerky to cool completely before storing. Store in an air-tight container for up to 1 month or longer in the fridge or freezer and Enjoy!


Beef Cuts:
Grass Fed Filet can be pretty pricey so here are so more options that would work really well for homemade Beef Jerky. Again, make sure all are trimmed well of any visible fat and/or silver skin and sliced WITH the grain.
- Top Round
- Eye of Round
- Sirloin Tip
- Flank Steak
- Super Lean (90 or 95%) Ground Beef (Note that you need a Jerky Gun)
Did you make this recipe? Tag @EverydayMaven on Instagram with the hashtag #EveryDayMaven and please give a star rating below.
DISCLOSURE: This post is sponsored by WA State Beef commission. WA State Beef has compensated me for my time to develop this recipe. Thank you for supporting the brands that make EverydayMaven possible. All opinions are my own.


What is the technic of knowing when it is totally dehydrated.? At 155′ degrees fully cooked. ?Any tips. I have tried making it in the past & it molded from not being dryed enough. Thanks in advance for any little trick.
Hi Diane! Some tips are to make sure that you start with a leaner cut of meat and TRIM the fat really well. Any leftover fat can make the jerky rancid. As for knowing when the jerky is totally dehydrated, it should NOT bend easier or be moist to the touch. If so, there is still moisture left that needs to be dehydrated out. Hope that helps!
What’s the third ingredient on the list?
Hey Chris! Not sure why that dissapeared but I just fixed it. It’s gluten free Worcestershire Sauce. Thanks for letting me know about that -I apprecite it!
I’m having trouble finding the third ingredient at any of the local markets.
This looks great, I’m excited to try it. I used to make jerky a ton (I have the same dehydrator!), but used yoshidas as the marinade base…and well…we all know how much crap that has in it, so I hadn’t found a suitable marinade replacement..until now. btw – I usually slice my meat across the grain – I know it’s not typical for jerky, but it makes it much easier to eat, especially the more tough cuts of meat.
what burbs did you guys move to? we are in ballard but finally think it’s time to move out of the city
Hi Robyn! I tried slicing across the grain and the jerky wound up falling apart into a bunch of pieces. Maybe it’s the cut of meat? We are loving our new hood. We are just N. of the city at the top of Lake Washington. Email me and we can chat about it! 🙂
I’ve never made jerky. Sounds like fun! Thanks for working out the recipe for us. 🙂
It’s great John -so easy and a real money saver!